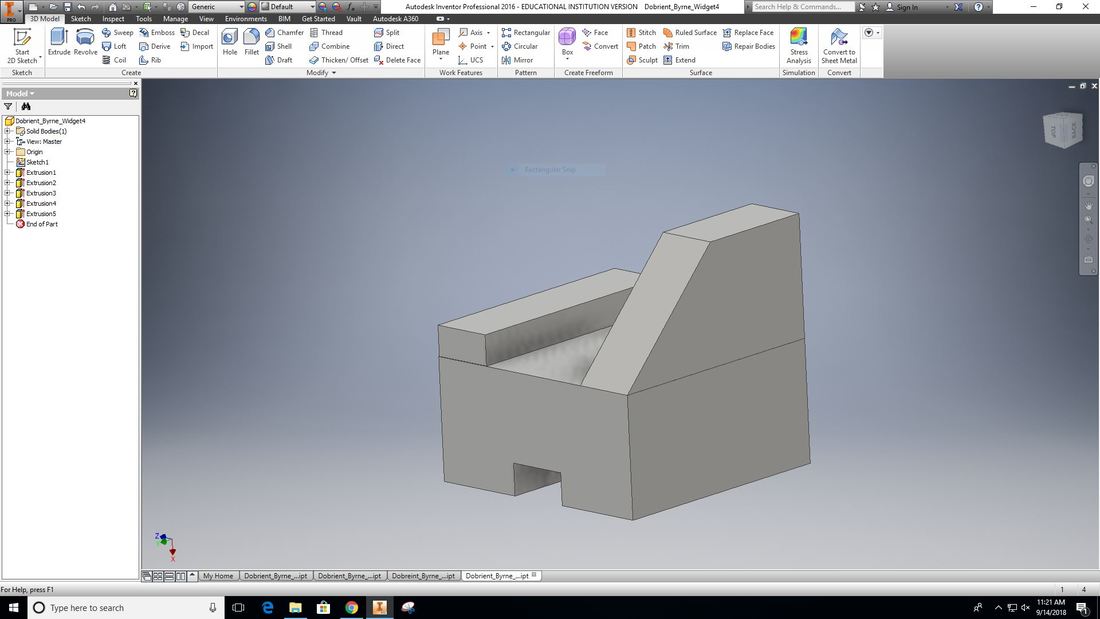
Autodesk Inventor is a computer-aided design application for 3D design, simulation, visualization, and documentation.
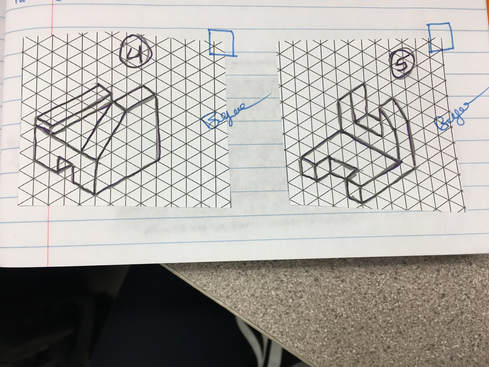
First I created a sketch of the Widget in my notebook.
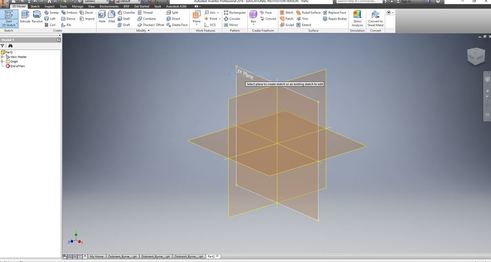
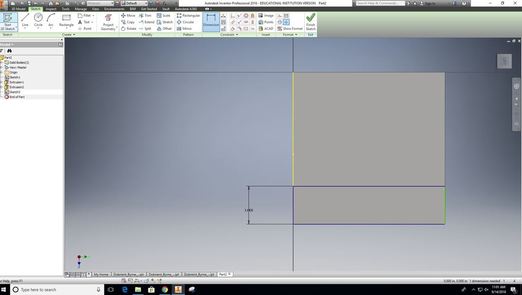
Step 1: Choose the XY plane to start your 2D sketch.
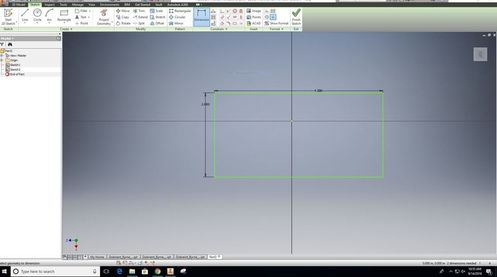
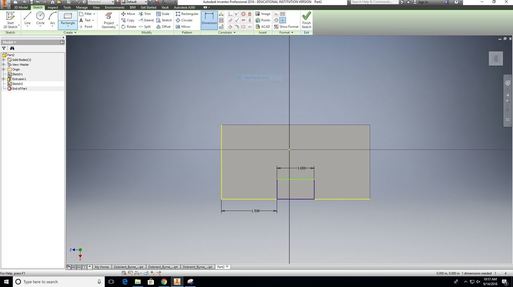
Step 2: Draw your square then make sure your side lengths are correct using the dimension tool.

Step 3: Extrude to 4 inches.
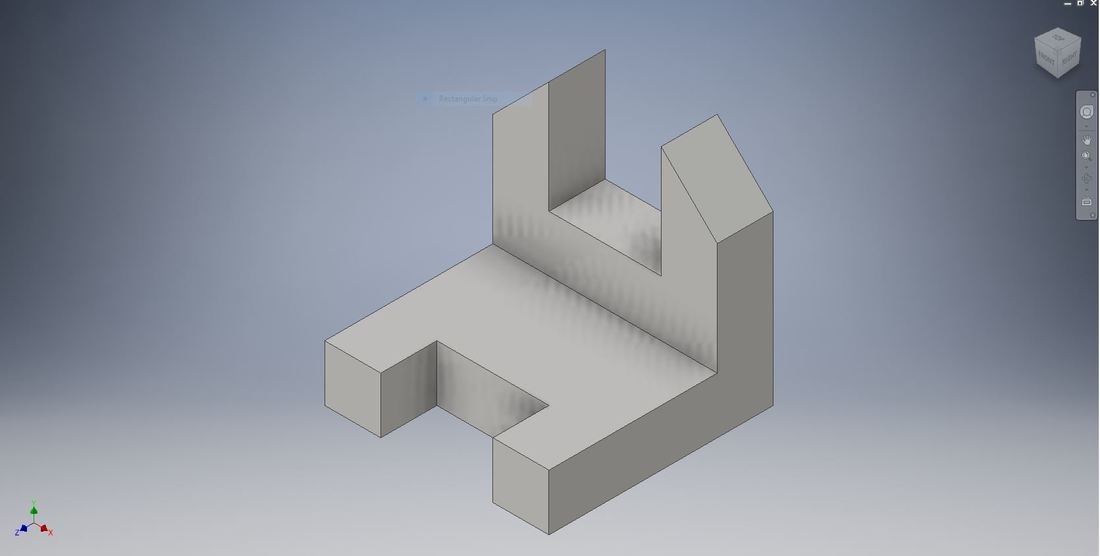
Step 4: Start a 2D sketch on the front face and create a rectangle for the bottom cut out.
Step 5: Hit finish sketch and then extrude and extrude it 4 inches the opposite way you did it the first time so it is cut out.
Step 6: Then start a 2D sketch on the top side and dimension it to 1 inch.
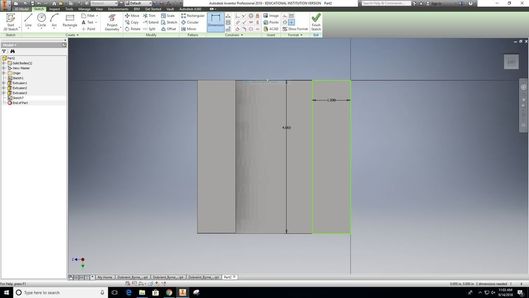
Step 7: Do the same dimensioning on the other side.

Step 8: Extrude the left side 1.5 inches and the right side 2 inches.

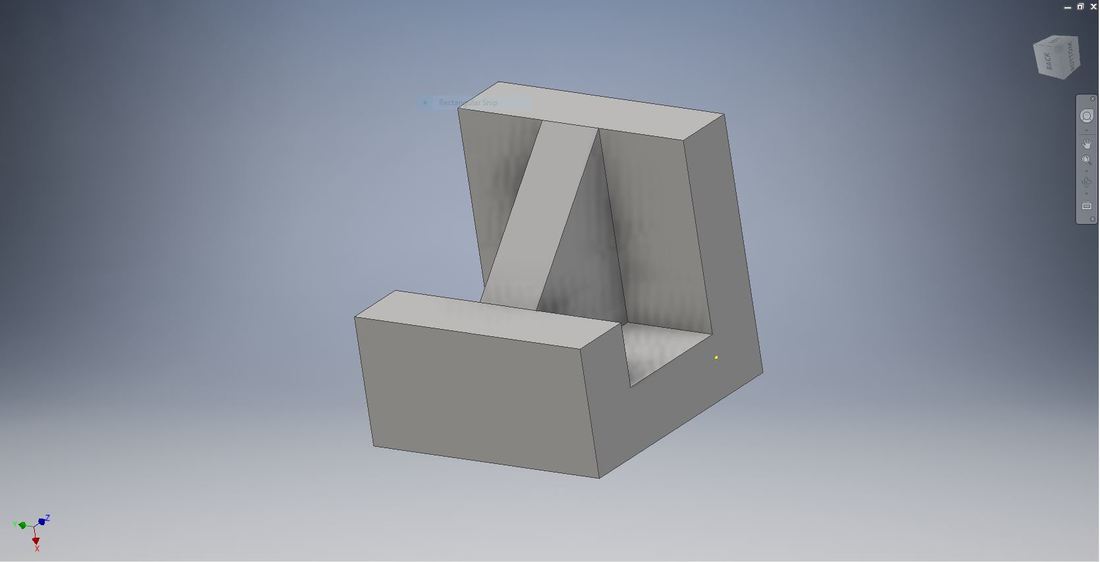
Step 9: Start a 2D sketch on the side that you just extruded 2 inches and create a diagonal line from the base to the top, 2 inches out.

Step 10: Finish sketch and extrude the opposite direction to cut it out.
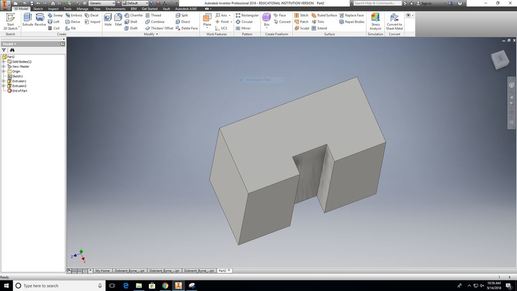
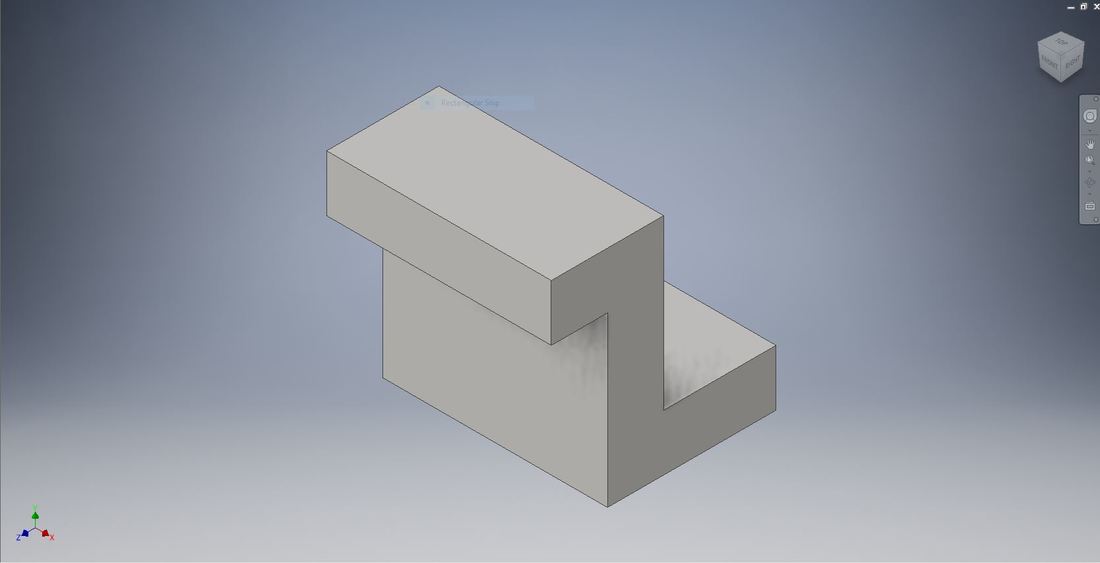
Completed widget 4


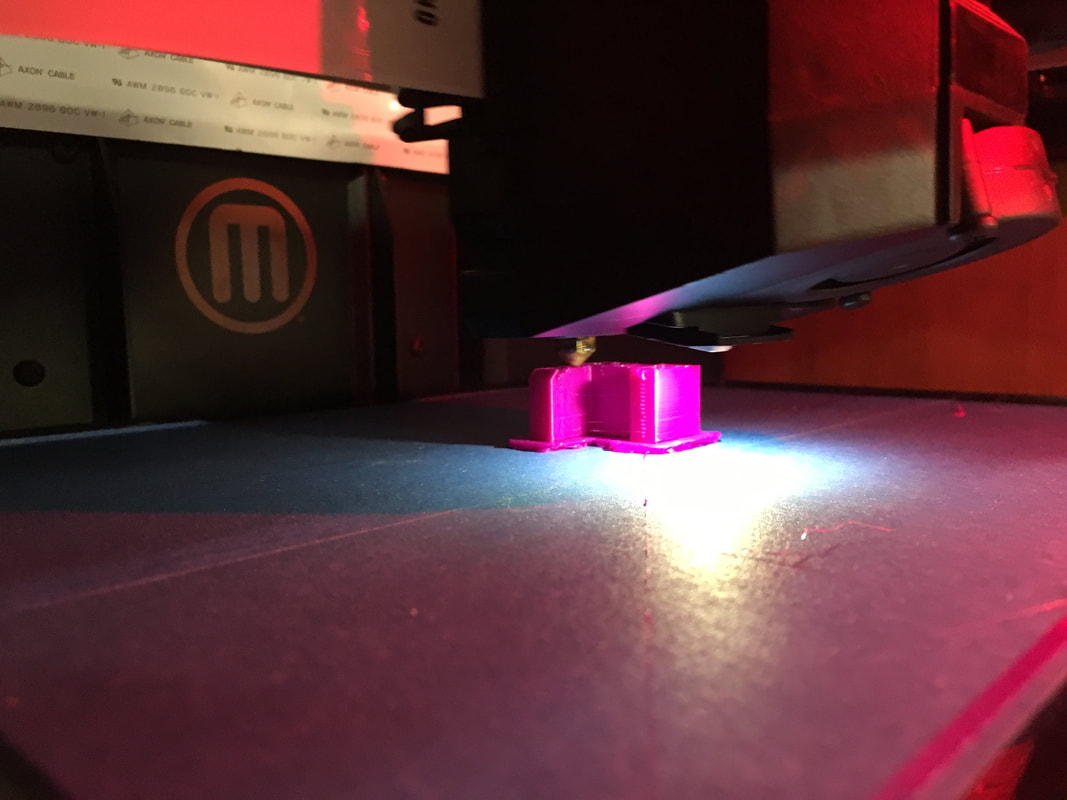
Here is the 3D printing process
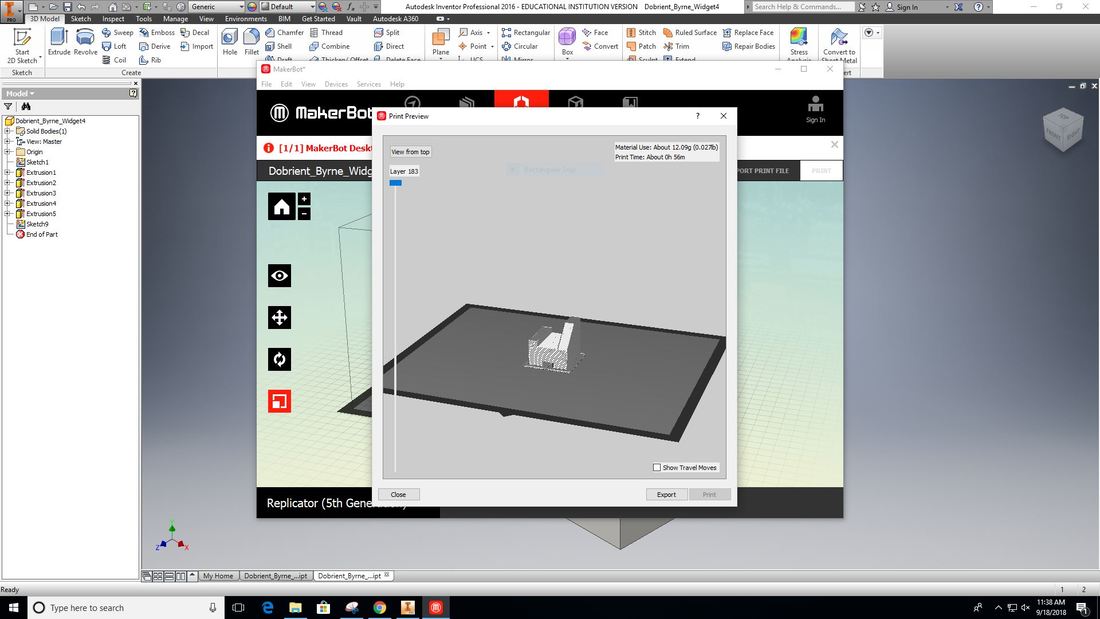
After exporting my widget from Inventor to makerbot, I just had to change some dimensions and put the file on a flash drive.
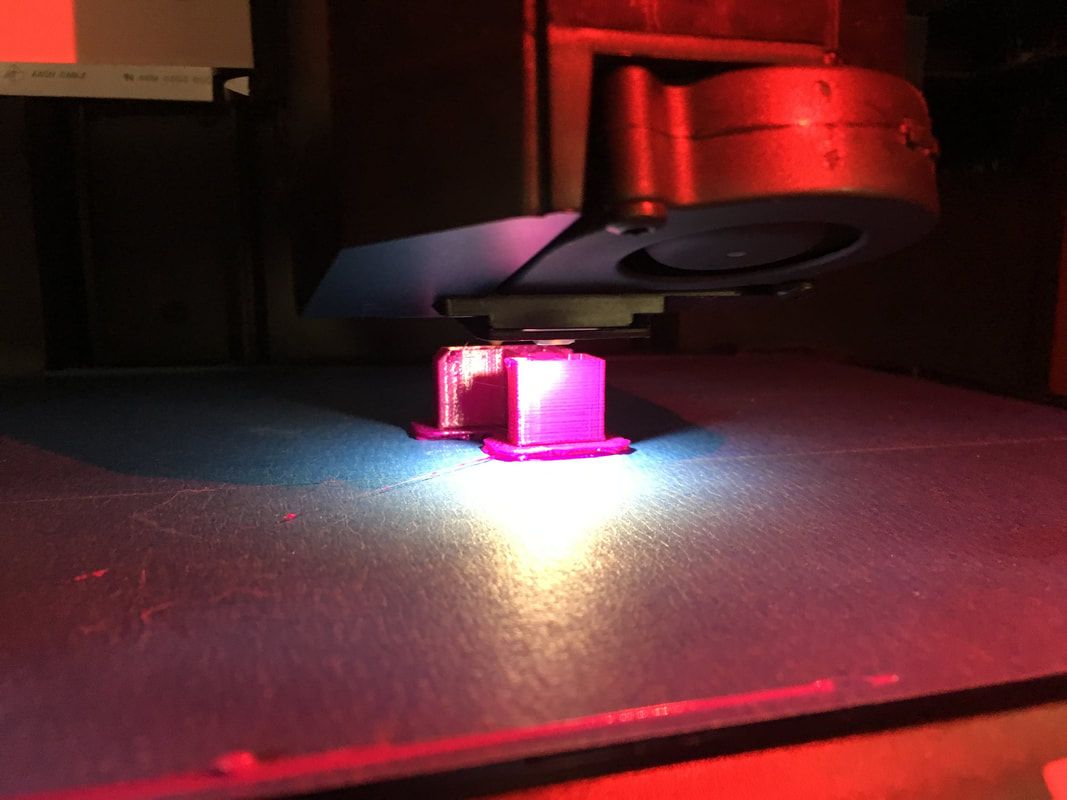
Here is the almost completed Widget in the Makerbot.
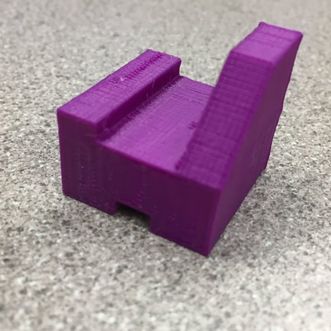
Final product
Conclusion
Working on this 3D project has taught me how to export auto desk files and get them into the Maker bot software. Then use the Maker bot software to get the file ready for printing, then using the 3D printer to receive my project.
